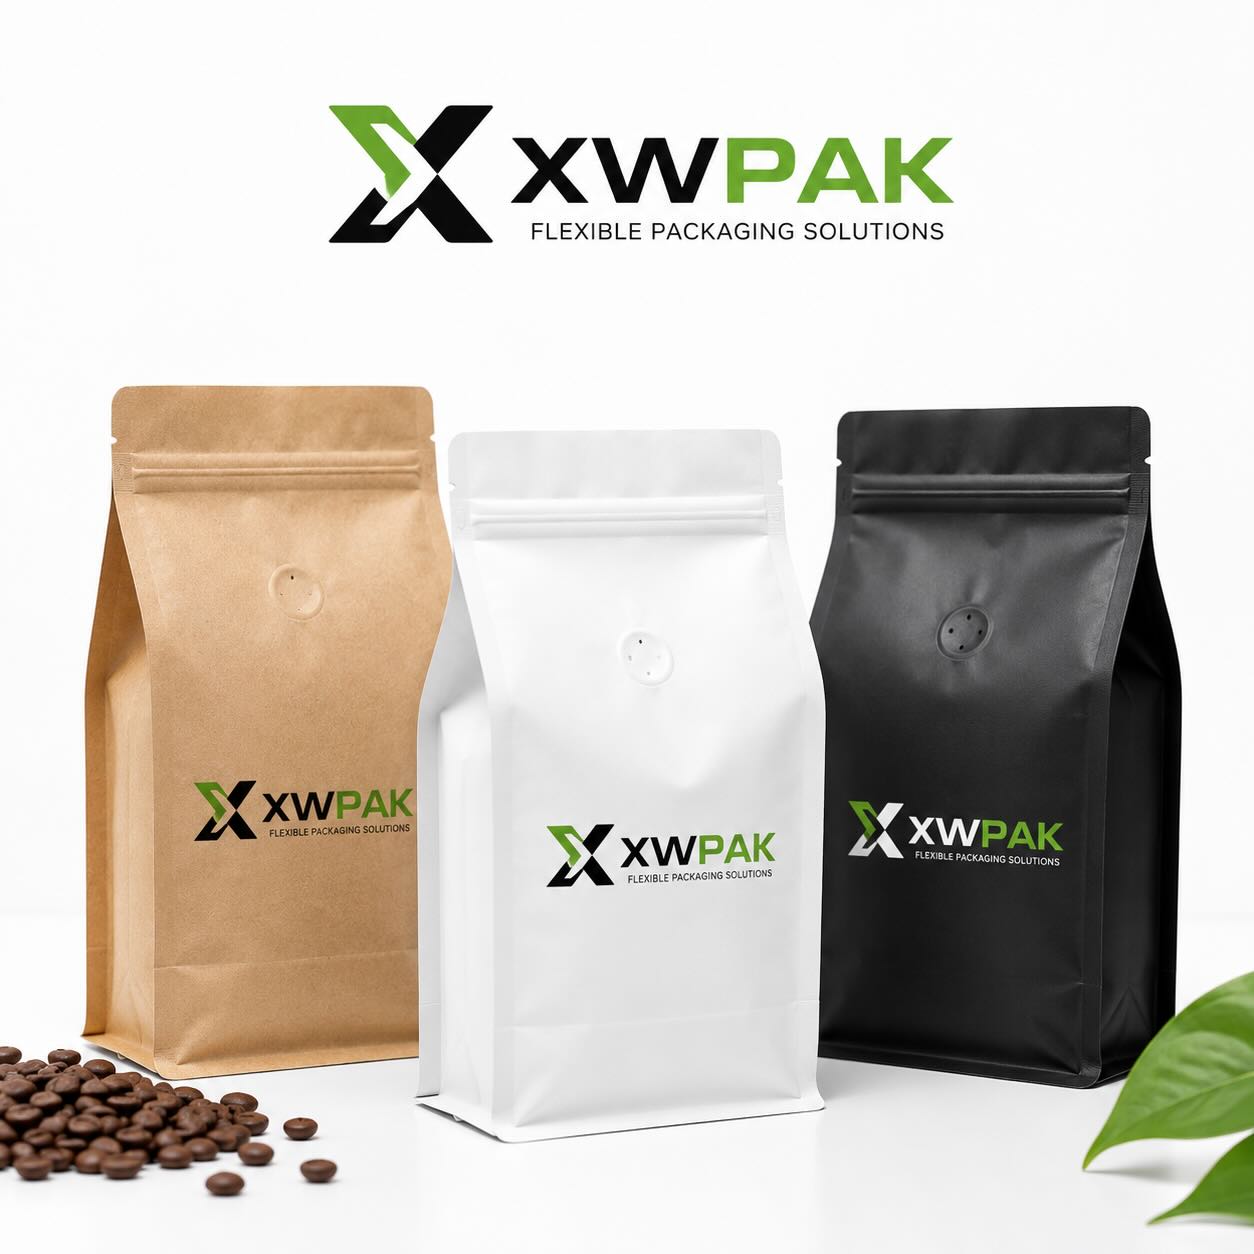
I've spent years on the production floor watching rolls of film turn into pouches, so I'll skip the marketing fluff. A T-bottom pouch, also called a flat-bottom pouch or a block-bottom bag, isn't complicated in concept. It's a stand-up pack built with a rigid, flat base so it holds its shape on a shelf instead of slumping over like a pillow pouch. What changes everything is how that base is welded, what film goes into it, and what ink touches the inside of the pack. Get any of those wrong and you'll hear about it from your customers before you hear about it from your lab reports.
This piece walks through how we actually build these pouches at XWPAK, why the format works so well for coffee, snacks, and packaged food, and what to ask your supplier before you commit to a run.
What Makes the Bottom "T-Shaped" in the First Place
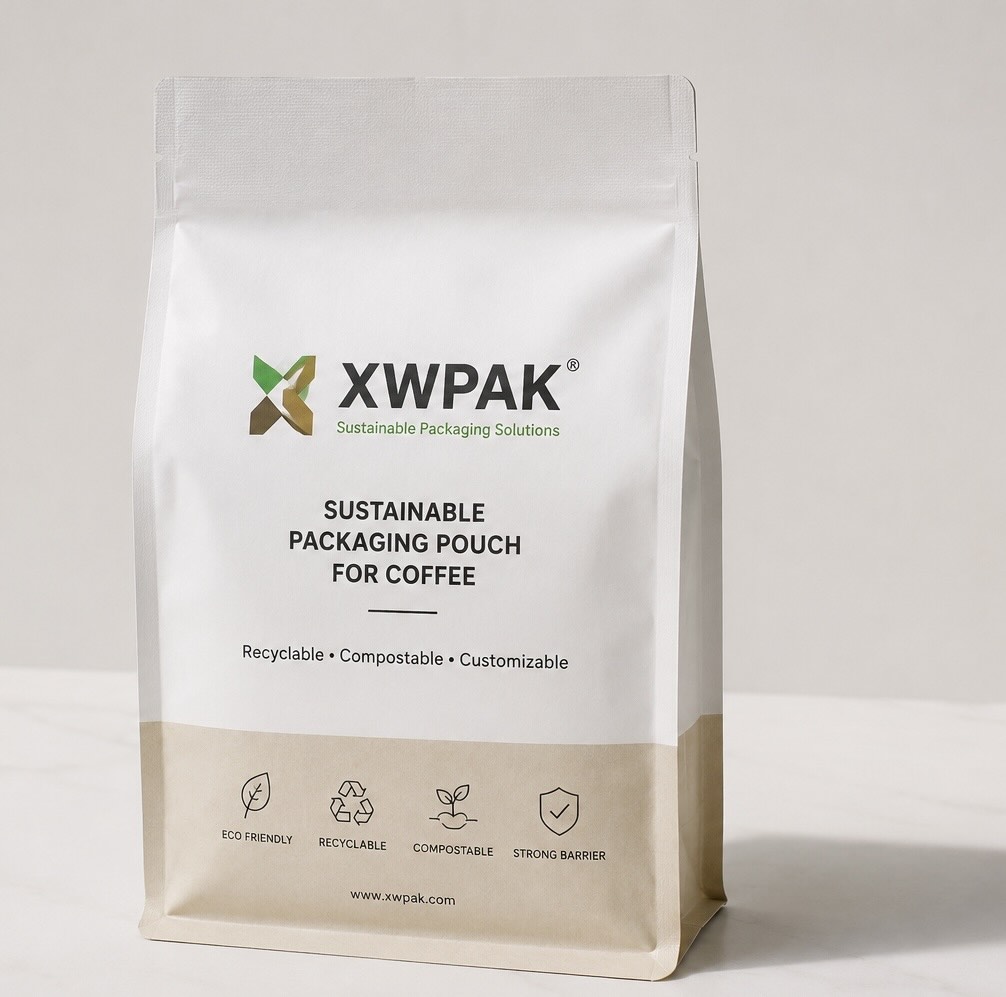
Picture a standard pillow bag folded and sealed flat at the base. That's roughly where a flat-bottom bag starts, except the bottom panel is a separate piece of film inserted between the front and back panels, then sealed along three edges to form a footprint you can actually stand on a counter. The seal pattern, when you look at it from underneath, forms a T or sometimes a W depending on the gusset folds. That geometry is what gives the pack its wide, stable base and lets it hold volume without tipping.
It sounds simple written out like that, but the tolerances matter. If the bottom panel isn't cut and folded to spec, the pouch either won't stand straight or the seal integrity suffers under weight, which is a real problem once you're filling with 12 ounces of roasted beans or a kilo of rice.
A production run for a block-bottom bag moves through a handful of distinct stages, and skipping steps here is where quality problems start:
Film selection and structure design. We choose the laminate based on what's going inside: a moisture barrier for snacks, an oxygen barrier for roasted coffee, and often a matte or kraft-look outer layer for shelf appeal. Multi-layer films (PET/AL/PE or PET/MPET/PE, for example) are common where freshness matters most.
Printing. Rotogravure or digital printing lays down the artwork before the pouch is formed. This is also the stage where ink choice matters most, which I'll get into below.
Slitting and forming. Printed film rolls are slit to width and fed into forming machinery that folds the gussets and inserts the bottom panel.
Sealing. Heat sealing bonds the side seams and the bottom panel in one continuous run. This is the step that decides whether your pouch actually stands up straight on a shelf.
Feature addition. Zippers, tear notches, degassing valves, or spouts get added depending on the product. A coffee pouch and a snack pouch rarely need the same hardware.
Quality checks. Seal strength, drop tests, and barrier performance get verified before the batch ships.
None of this is exotic machinery, but consistency across thousands of units is the actual craft. Anyone can make one perfect pouch by hand; the job is making the ten-thousandth one match the first.
Not every product needs a stand-up pouch, but for a specific set of goods it solves real problems:
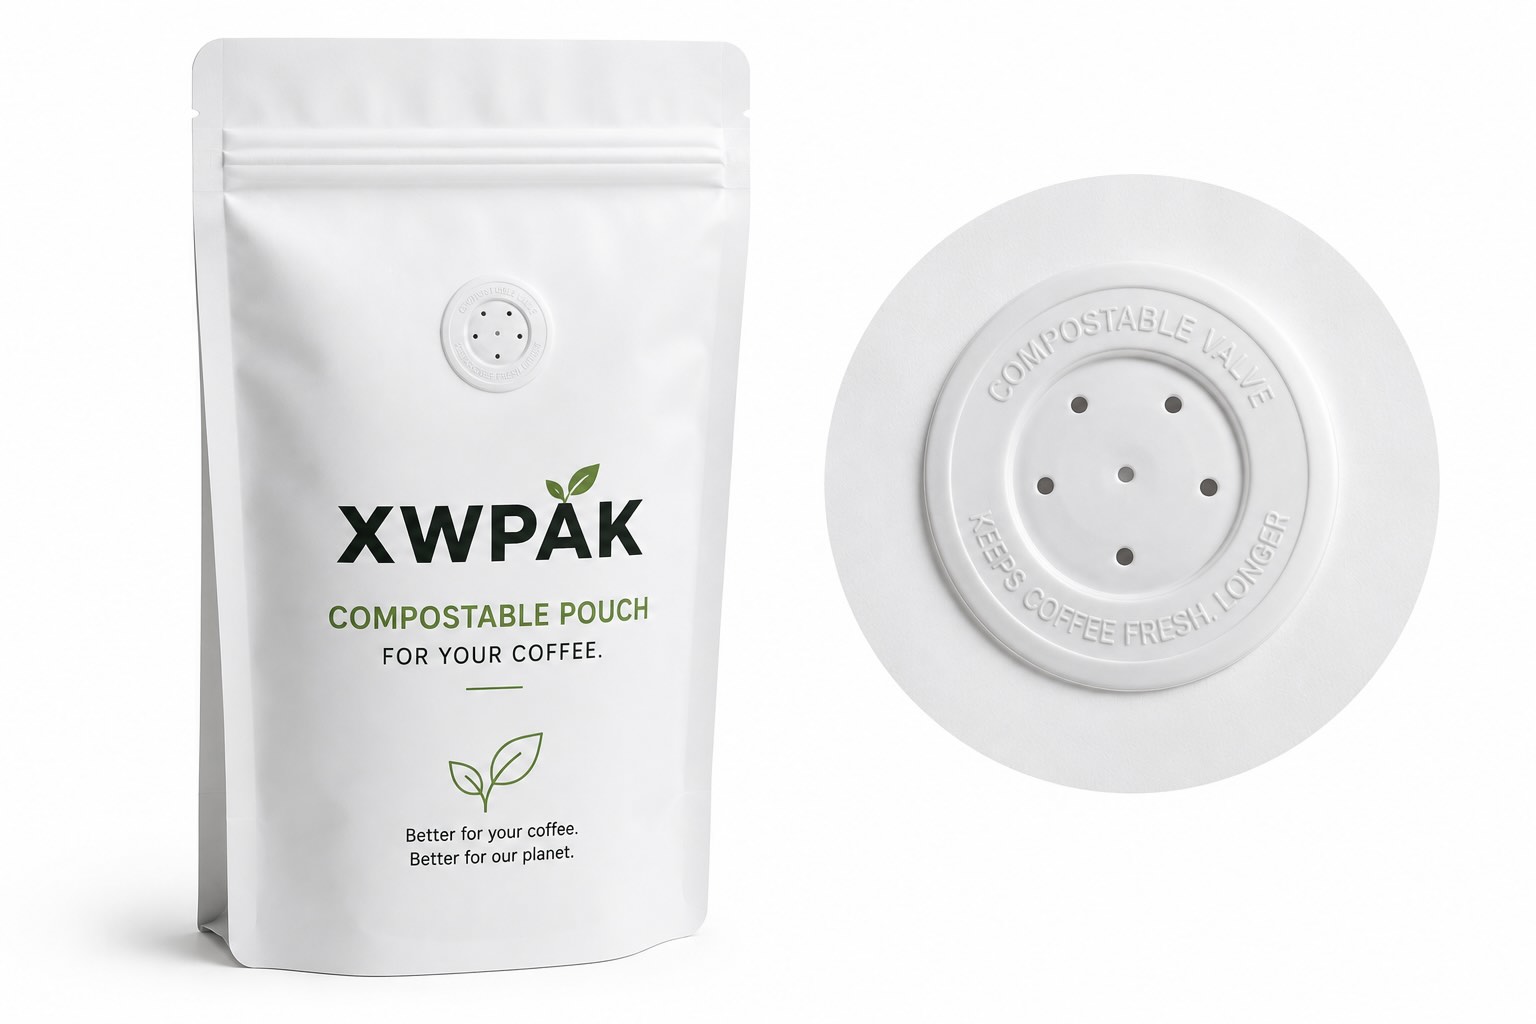
Coffee: Fresh-roasted beans release CO2 for days after roasting. A one-way degassing valve on a custom T-bottom pouch lets that gas escape without letting oxygen back in, which is the difference between beans that stay fresh for weeks and beans that go stale in days.
Snacks: Chips, nuts, and dried fruit need a moisture barrier and enough rigidity to resist crushing in transit. The flat base also means the pack displays well upright on a retail shelf, which matters more for impulse-buy snack categories than people give it credit for.
Dry food and grains: Rice, pulses, and pet food benefit from the wide base for warehouse stacking and the resealable zipper for repeated use at home.
The common thread across all three is shelf behavior and barrier performance. A pouch that looks nice but lets in moisture or oxygen isn't doing its job, no matter how good the print looks.
Here's something buyers rarely think to ask about until they've had an issue: what's the ink made of, and can it migrate into the product? At XWPAK, we run biobased inks on food-contact packaging specifically because they don't carry the same migration risk as solvent-based alternatives. That matters most with porous or fatty products. Coffee oils and oily snacks are exactly the kind of contents that can pick up odor or taste from the wrong ink over time. Biobased ink formulations reduce that risk and hold up just as well under the print quality and color consistency brands expect.
If a supplier can't tell you plainly what their ink is made of and whether it's food-contact safe, that's a fair reason to keep asking questions before you place an order.
A short list, based on what actually goes wrong when brands skip it:
Confirm the barrier structure matches your product's shelf-life target, not a generic default.
Ask for a seal strength and drop-test report, not just a sample that looks fine on a desk.
Verify the ink is food-safe and get that in writing, especially for oily or aromatic products.
Decide on features, such as valve, zipper, or tear notch, before artwork is finalized, since retrofitting later costs time and money.
A well-built quad-seal pouch is one of the more forgiving formats to work with once the structure is right. Getting that structure right the first time is what separates a good production partner from an average one.